Asphalt pavement can develop distress due to various reasons, but one common issue is the presence of infrared fatigue cracking. This type of cracking occurs when thermal cycling (repeated expansion and contraction) causes the asphalt to weaken and separate.
Fortunately, a relatively simple solution can help prevent or fix these cracks: infrared patching. In this article, Black And Yellow Pavement Inc. will provide a step-by-step guide on how to perform this repair technique.
How Does Infrared Patching Work?
Infrared patching works by heating the existing asphalt in the affected area to create a more pliable surface. It allows for a new layer of asphalt to be added to better bond with the old pavement.
Step-by-Step Guide to Performing Infrared Patching on Asphalt:
Here’s a step-by-step guide on how to perform infrared patching:
Step One: Prepare the Area
The first step is to clean and prepare the area to be repaired. It means removing any loose debris or vegetation and cleaning up any oil or fuel stains. Once the area is clean, you’ll need to use a broom to roughen up the surface of the existing pavement. It will help ensure that the new asphalt has a good surface to bond to.
Step Two: Heat the Asphalt
Next, you’ll need to heat the existing asphalt in the repair area. It is done with a special infrared heater or even a propane torch. The goal is to get the asphalt to about 325 degrees Fahrenheit.
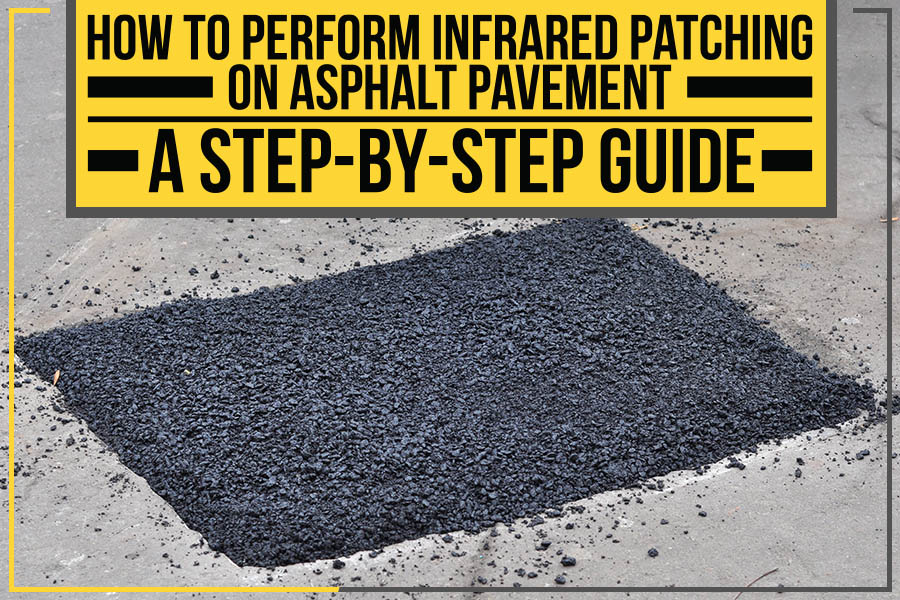
Step Three: Add the New Asphalt
Once the existing asphalt is heated, you can add the new asphalt mix. It should be done in small batches, using a shovel or trowel to spread evenly over the repair area. Be sure to compact the new asphalt firmly as you go.
Step Four: Cool and Finish
After all of the new asphalt has been added, you’ll need to allow it to cool. Cover the area with a tarp or blanket. Once the asphalt has cooled and hardened, you can finish up by applying a sealant or seal coat. It will help protect the repair from weathering and further damage.
When is the Best Time to Get Infrared Patching Done?
You may have your asphalt repaired with infrared patching at any time of year. But it’s generally best to do it in the spring or summer. The warmer temperatures will help make the repair process easier and faster.
However, if you have an emergency repair that needs to be done in the middle of winter, don’t hesitate to call a professional asphalt contractor. They will be able to assess the situation and determine whether or not infrared patching is the best solution.
Benefits of Infrared Patching on Asphalt Surface:
Infrared patching can be used to treat several different types of asphalt damage, including:
Alligator cracking
Potholes
Depressions
Edge breaks and raveling
Fatigue cracking
This repair technique is also beneficial because it can be done quickly and does not require the removal of the existing asphalt surface. It can save both time and money. Additionally, infrared patching can be used as a preventative measure to help extend the life of your asphalt pavement.
If you’re looking for a way to repair or prevent damage to your asphalt pavement, infrared patching may be the solution you need. With this step-by-step guide, you can learn how to perform this repair technique. Give it a try today!
And if you don’t feel comfortable performing the repairs yourself in Oakville, Black and Yellow Pavement Inc. is always here to help. Contact us today for a free quote, and we’ll take care of everything for you. Thanks for reading!